100 Low Poly Assets Challenge...
As the subtitle suggests, I'm considering a project where by I focus on creating 100 modelled assets for a game level - most likely for the UDK game engine. If time permits, I may also block out the actual environment for the assets but in a modular fashion.
Having selected the environment modelling brief last semester, I learned a lot more about modelling, UV mapping and texturing. However, I never had much of a chance to really explore the texturing side of things in full detail.
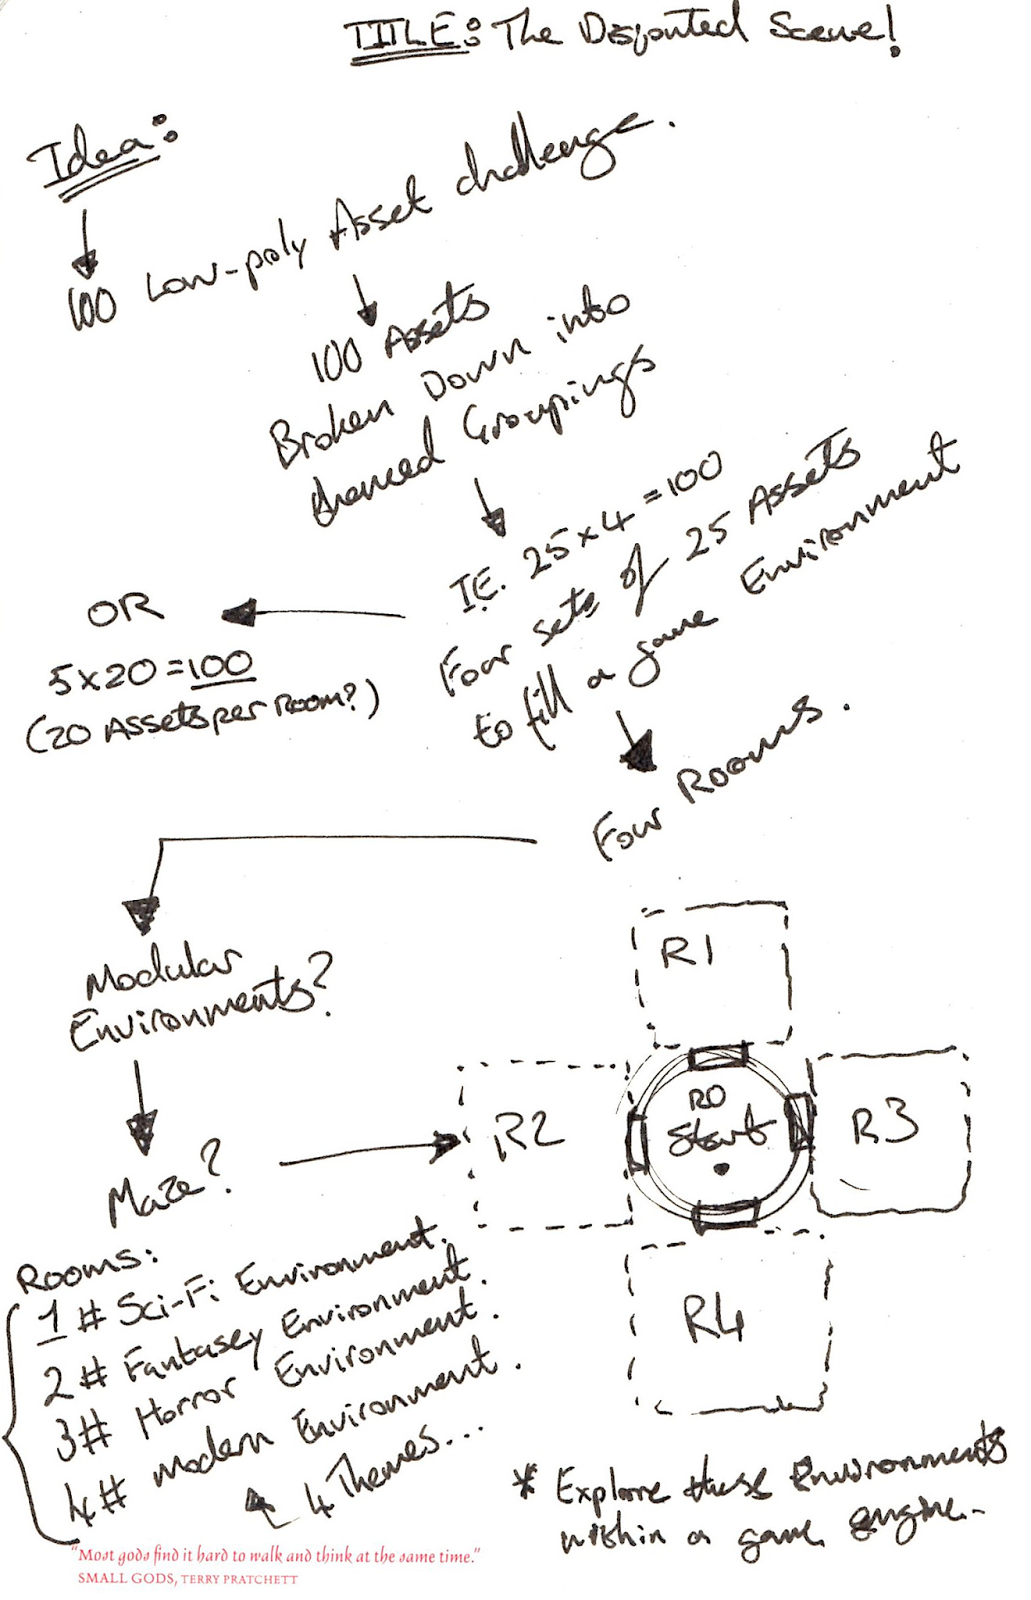
I figure that by turning the 'make your own brief' into something more akin to an actual challenge. I can really test myself and my abilities. Moreover, I hope that by continuously modelling, UV'ing and Texturing a dozen low-poly game assets, I can further improve through the notion of repetition in order to improve my skill set. Further more to that, I hope to push myself enough to be able to complete the challenge and progress it into a game engine (UDK) as a stretch goal.
I reckon that by attaching a theme/or/themes to the challenge (possibly breaking down the 100 assets into smaller themed groupings), I will be able to set myself an ultimate goal that is substantial enough to be considered worthwhile and viable as an approach to my continual skill building.
Till next time...
The Art of ArtManimal . . .
"In the beginning there was nothing, and it exploded!"
Thursday, 23 January 2014
Wednesday, 15 January 2014
Final Stages... #20
Tuesday, 14 January 2014
Environment Building Continued... #19
More Modelling...
As the 3D Environment Sample comes together, I continue to UV map as I go along to keep things straight forward and hassle free when the real texturing beings.
As you can also see, as the scene progresses even more I start to Dress the Set...
As the 3D Environment Sample comes together, I continue to UV map as I go along to keep things straight forward and hassle free when the real texturing beings.
From Concept to Creation... #18
Continuing the process...
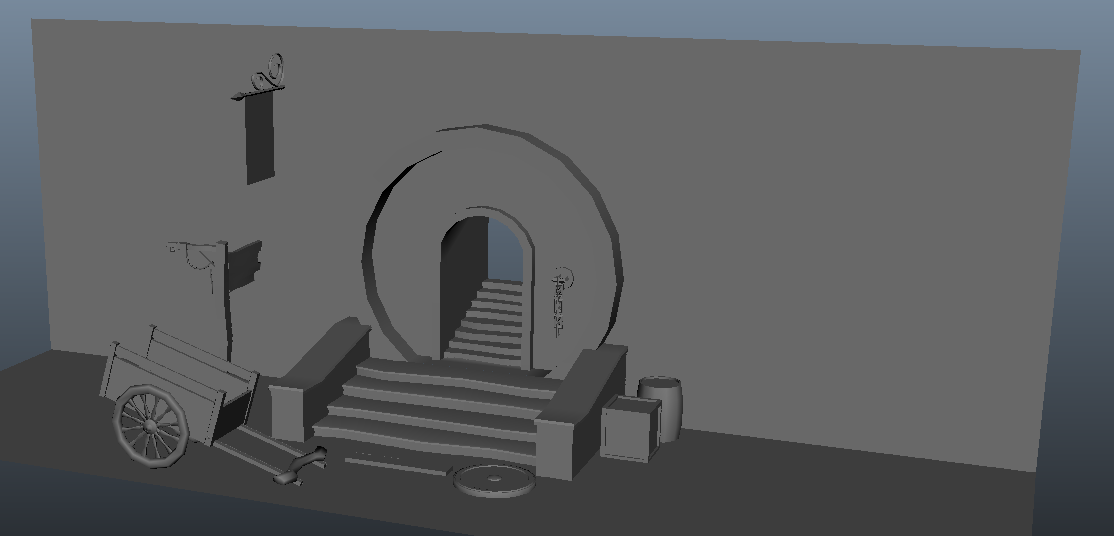
After exploring different modelling, UV and Texturing processes. I continued to flesh out the concept and start building more of the 3D Environment Sample. The metal sign attached to the wall was mostly created using simple polygon modelling, however, for the fancy metal swirl I used the CV Curve tool to extrude a flat polygon plane along the curve to create the final product.
I then moved on to create a simple wooden box and barrel, along with a basic wooden plank and a wooden shield. As for the wall I'm thinking something along the lines of a sandstone effect to keep in line with the initial concept art piece.
The steps will probably be made of stone.
UV Mapping as it happens...
UV Mapping the scene as it progresses, to ensure a streamlined process towards the end of the building process and an eased transition into the Texturing stage of the project.Sunday, 12 January 2014
Modular Design... #17
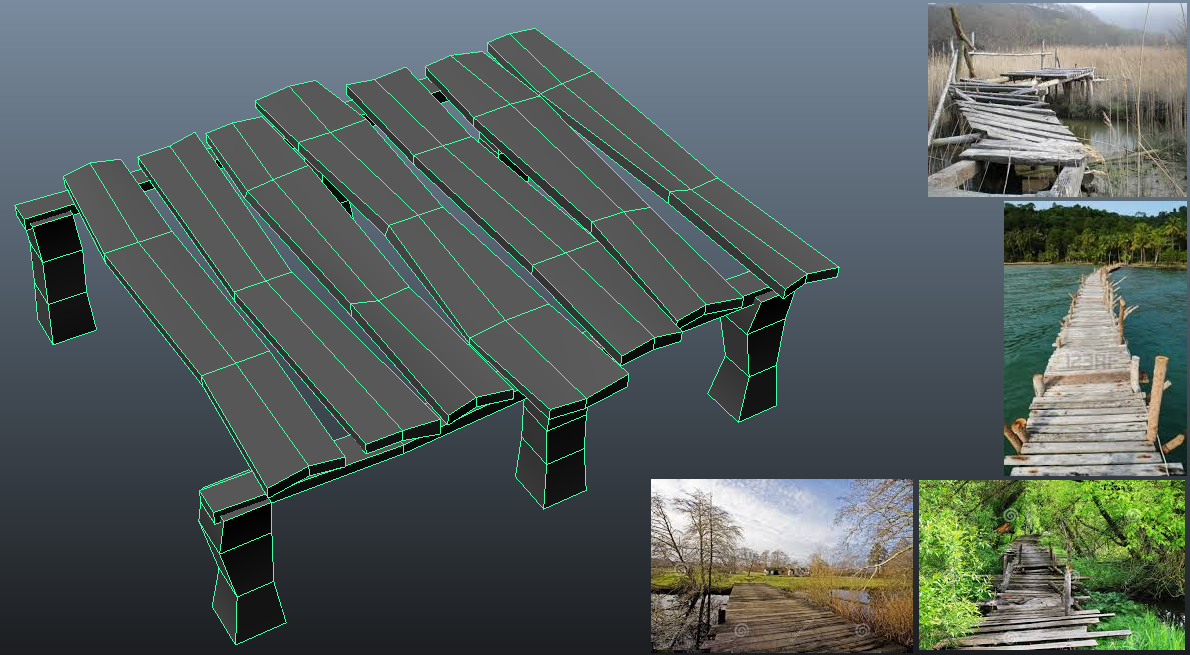
With this 3D prop, I decided it would be best to use a modular design. This time I also forgone the usual concept art as a test, using previous thumbnail environment concept art and focused more on using reference images only to produce the bridge - This being a slightly different but mostly very similar to the technique of using concept art and reference to build assets for a scene/game.
Modular Bridge Section Repeated.
This youtube video gives a great explanation about resolution of texture maps when using a modular design approach as opposed to creating the bridge above as a single model and trying to fit the large amount of individual pieces that make up the whole sum of the bridge.
So in essence, by using a modular design with the bridge. I will be able to increase the resolution of the actual textures for it and thus come away with a texture map that will contain a lot more detail and less pixelation, compared to other assets/props within my 3D Environment Sample.
Saturday, 11 January 2014
Spaming the 3D Props... #16
The Wooden Shelf...
Yet again, I followed the same principle of using concept art and reference images to produce this piece.
The next stage would be to UV map this prop then Texture it for use in the 3D Environment scene.
Yet again, I followed the same principle of using concept art and reference images to produce this piece.
The next stage would be to UV map this prop then Texture it for use in the 3D Environment scene.
Friday, 10 January 2014
Modelling Props! #15
Another 3D Prop...
Flowing the same principles of modelling using Concept Art and Refrenece images, then UV'ing the prop in a specific yet simple way. I created the following Wooden Cart Model for the 3D Environment scene with the intent on focusing on the outer part of the environment idea, while still letting me explore slightly more advanced modelling techniques.
Subscribe to:
Posts (Atom)